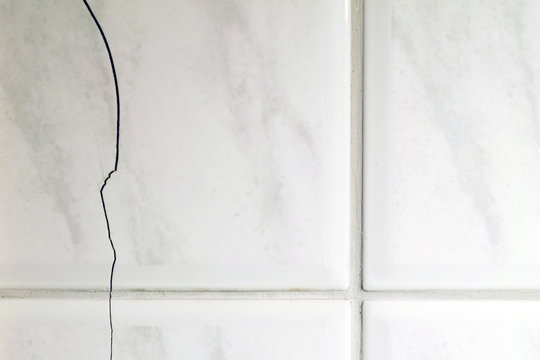
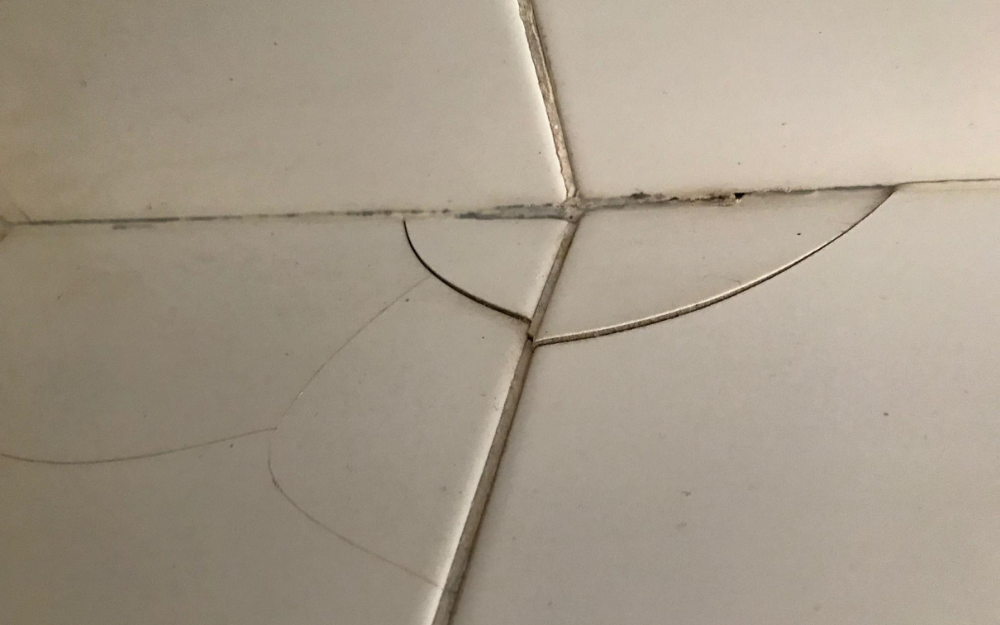
How to Repair Cracked Shower Tile:
I’m guessing you’re here because you either have a small or major problem with your shower. If you have a cracked or broken tile in your shower, it’s important to repair it as soon as possible to prevent further damage and to maintain the appearance of your bathroom. We have been doing this for quite some time so you can trust what we say. In tile and grout repair, we have the skills and expertise to help you get your shower looking like new again.
Before you begin the repair process, it’s important to heavily clean and prepare the area. Grout lines, in particular, can easily build up dirt and grime, and if they are not properly cleaned before attempting a repair, the repair may not be as effective. That’s why we recommend taking a comprehensive approach to cleaning your shower tiles and grout lines.
To clean your grout lines, you will need the following tools and materials:
- A grout brush or toothbrush
- A bucket
- A mild detergent or grout cleaner
- A towel or rag
Here’s a step-by-step guide on how to clean your grout lines from Grout Works Garland:
- First, fill a bucket with warm water and add a mild detergent or grout cleaner. Mix the solution together until it becomes sudsy.
- Using a grout brush or toothbrush, scrub the grout lines with the sudsy solution, paying extra attention to any areas that are particularly dirty or discolored.
- Once you have scrubbed all of the grout lines, rinse the area with clean water, being sure to remove all of the suds and cleaning solution.
- Use a towel or rag to dry the area, and then allow it to air dry completely.
By taking the time to properly clean your grout lines before attempting a repair, you can ensure that the repair is as effective as possible.
Now, let’s move on to the actual tile repair process. If the tile is simply cracked, it may be possible to repair it without having to replace it. However, if the tile is broken or chipped, it will likely need to be replaced.
To repair a cracked tile, you will need the following tools and materials:
- A small chisel
- A hammer
- A putty knife
- Tile adhesive
- Grout
Here’s how to repair a cracked tile in your shower:
- First, remove any loose debris or debris from the crack using a small chisel and a hammer.
- Next, apply a small amount of tile adhesive to the crack using a putty knife. Be sure to smooth out the adhesive and make it level with the rest of the tile.
- Once the adhesive has dried (follow the manufacturer’s recommended drying time), use a grout float to apply grout to the repaired area. Be sure to smooth out the grout and remove any excess.
- Finally, allow the grout to dry completely (again, following the manufacturer’s recommended drying time), and then wipe the area clean with a damp cloth.
If the tile is broken or chipped and cannot be repaired, it will need to be replaced. Here’s how to replace a broken or chipped tile in your shower:
- First, use a small chisel and a hammer to gently remove the broken tile from the shower wall. Be careful not to damage the surrounding tiles.
- Once the broken tile has been removed, use a wet saw to cut a new tile to fit the size and shape of the opening.
- Apply tile adhesive to the back of the new tile, and then press it into place on the shower wall. Be sure to smooth out the adhesive and make it level with the rest of the tiles.
- Use a grout float to apply grout around the edges of the new tile, smoothing it out and removing any excess.
- Allow the grout to dry completely (following the manufacturer’s recommended drying time), and then wipe the area clean with a damp cloth.
By following these steps, you can successfully repair or replace a cracked or broken tile in your shower. Click here for a highly rated grout repair company
But what if it’s not the tiles that are damaged, but the grout itself that needs repair? Grout can become discolored, cracked, or loose over time, and when this happens, it can affect the overall appearance and function of your shower. If you need to repair shower grout, the process is similar to repairing tiles.
First, remove any loose or damaged grout using a small chisel and a hammer. Next, apply new grout to the affected area using a grout float, smoothing it out and removing any excess. Allow the grout to dry completely, and then wipe the area clean with a damp cloth.
If you’re not comfortable tackling a grout or tile repair project on your own, it may be a good idea to hire a professional grout and tile cleaning company like Grout Works Garland. But how do you know which company to choose?
When looking for a grout and tile cleaning company, be sure to consider the following:
- Experience: Choose a company with a track record of success and satisfied customers.
- Professionalism: Look for a company that is punctual, reliable, and respectful of your home.
- Quality of service: Find a company that uses high-quality products and techniques to get the best results.
By considering these factors, you can find a grout and tile cleaning company that will provide excellent service and leave your shower looking like new.
In summary,
if you have a cracked or broken tile in your shower, it’s important to repair it as soon as possible to prevent further damage and to maintain the appearance of your bathroom. Properly cleaning and preparing the area before beginning a repair is crucial to ensuring the repair is as effective as possible. If the tile cannot be repaired, it will need to be replaced. And if it’s the grout that needs repair, the process is similar to repairing tiles. If you’re not comfortable tackling the project on your own, consider hiring a professional grout and tile cleaning company like Grout Works Garland. By following these steps, you can successfully repair or replace damaged tiles or grout in your shower. Click here for a guide on How to Clean Shower Grout.
Learn more about grout repair in Garland, Texas
–


